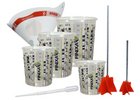
Weighting of small volumes
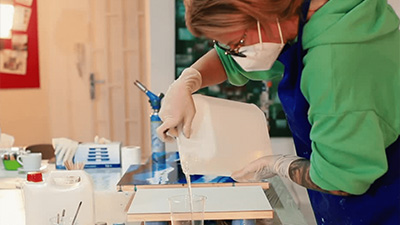
Small volumes, e.g. 10 g, need to be weighed really precisely (use scales to hundredths of g), because an error of half a gram when weighing 1 kg means nothing, but half a gram per 10 g is very noticeable. Such a mistake can mean a mess in a mixing ratio between component A or B so much that the mixture will harden poorly, will still stick or not harden at all. It is ideal to prepare several small projects at once, weigh and mix e.g. a 100g quantity and pour several projects at the same time – this eliminates errors when weighing small volumes.
Mixing of components A and B
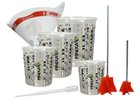
We then pour the mixed resin from one cup into another cup and repeat the mixing. This eliminates the chance of imperfect mixing of both components and the formation of possible unhardened spots in the casting.
Mixing with pigments
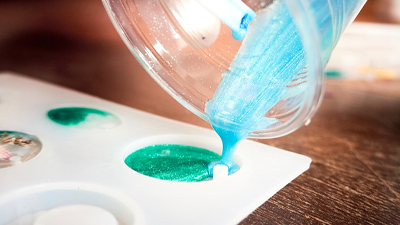
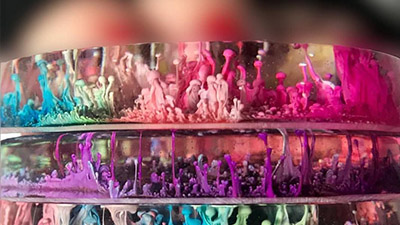
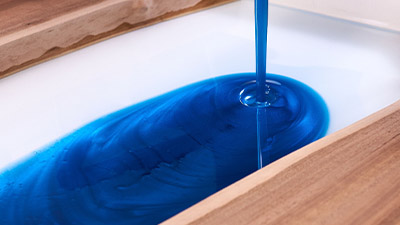
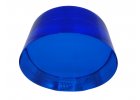
How to get the right shade of the desired color? Add pigment to the resin until the desired shade is mixed. Then take a transparent cup, take out a small part and check against the light how saturated your color is. This is done because in large quantities the pigment is a bit deceiving and appears much richer than it actually is. This avoids the problem that after casting a relatively small column of a few cm, it will not be saturated enough as expected.
Casting
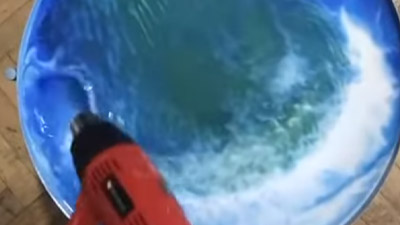
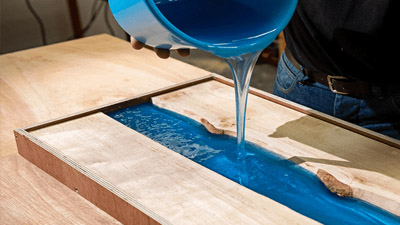
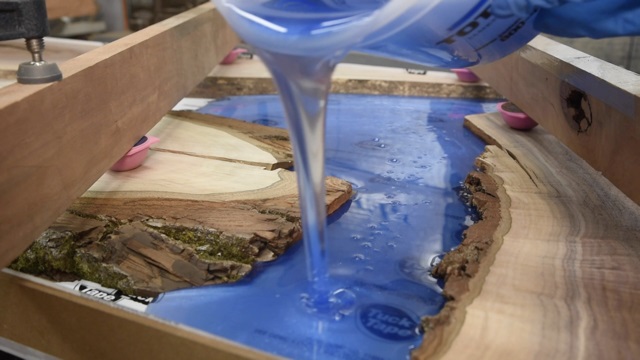
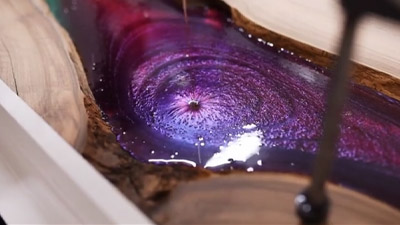
To get rid of bubbles on the surface of the resin, we use a hair dryer, flame gun or heat gun, which we run over the surface of the cast resin. The bubbles burst due to the reduction of viscosity by the heat on the surface. However, be careful not to aim the hot air at just one spot on the surface of the epoxy, but move it over the entire surface of the cast surface. By heating, you could inadvertently start an uncontrolled exothermic reaction at that point. When casting, you also need to think about the shrinkage that will occur after curing, so you need to increase the layer thickness by about 10 %.
Curing of a cast
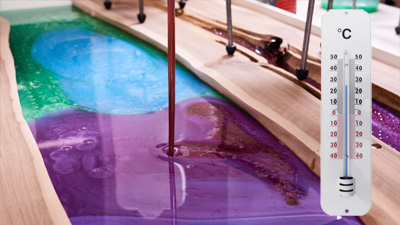
The curing speed of the system depends on the temperature. It is good to let the epoxy harden at normal temperature to the gel phase, after the gel phase the curing temperature can be raised to up to 35-40 °C. At a higher temperature, the system cross-links and hardens faster, and it is thus possible to shorten the curing time by a little.
Milling of a cast
When working with the cutter, it is important not to remove the material to the entire diameter of the cutter, half is ideal. When removing too much in one step, unsightly pits can form on the surface of the wood and the epoxy. Some woods are harder than the epoxy used, so you have to work very sensitively with the feed of the milling machine when removing (react to the change in material stiffness by changing the feed rate). It is ideal to work with a milling machine that is equipped with an electronic constant speed control. The rotation speed can be medium to slightly higher, it is important that the epoxy does not form any melted spots.
Sanding of a cast
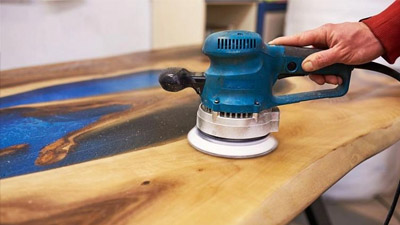
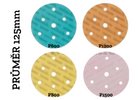
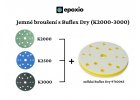
When switching to finer grit sandpapers, check the sanded surface carefully to see if you have left any deeper scratches. Subsequent softer sanding with emery can no longer remove it, and it will be visible even more after the final polishing.
When sanding, it is important to wipe the sanded surface and the abrasive often, precisely so that deeper grooves or scratches do not form.
Cleaning of tools
Containers, tools, brushes, spatulas, buckets are cleaned using xylene or a mixture of xylene and acetone in a ratio of 2 : 1. Acetone alone can also be used, but the cleaning result will not be 100%. Otherwise, it is possible to let the rest of the epoxy harden in the bucket and then simply peel it off.


