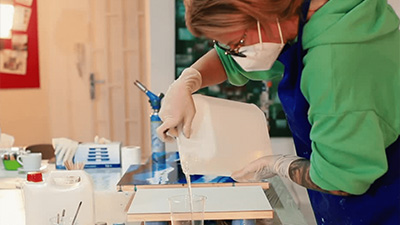
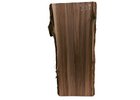
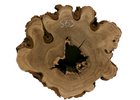
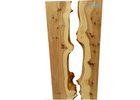
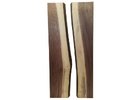
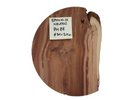
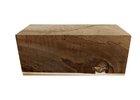
A real case directly from practice implemented in the workshop of Lexy from Lexani Racing in Prague, who proactively and perfectly cooperated in the implementation of this procedure, and thanks to the feedback we were able to adjust the procedure and the product flexibly, for which we owe him a big thank.
The task: To straighten bent planks in 80 mm wood thickness so that when leveling there is a minimal loss of material and the greatest possible thickness is preserved.
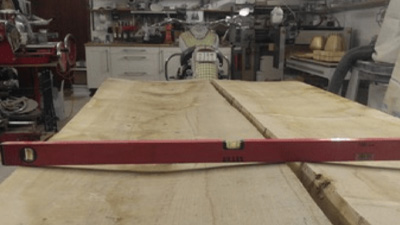
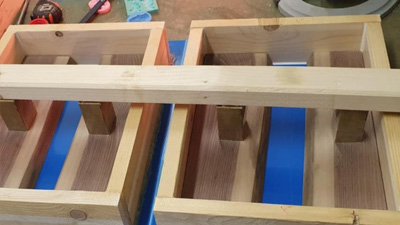
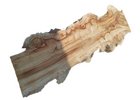
Initial condition: Two dried ash center planks 290 cm x 55-60 cm, thickness 80 mm. Curved only in cross-section and more or less only in the middle (therefore it was not necessary to solve twisting). Deflection approx. 25 mm, with a simple stretch in the stretch, a sheet with a thickness of approx. 30 mm would remain.
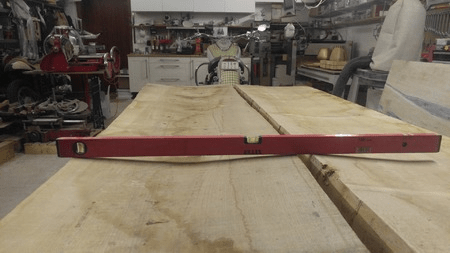
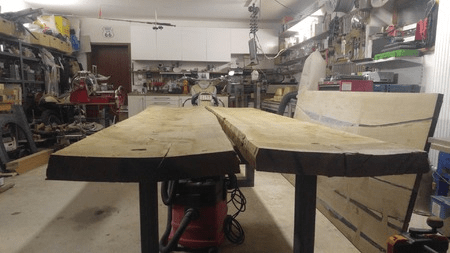
Theory: Dried planks bent during drying, make several cuts in the direction of the sag, then carefully pull the plank to the desired plane using force. Then pour the open cut grooves with a suitable high-strength epoxy resin (Veropal FixWood), let it harden and, after it has hardened, flatten the plank with a router.
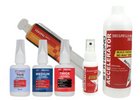
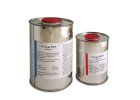
Veropal Fixwood: VEROPAL FixWood epoxy resin is a fast high-strength system used to repair bent and warped wood and to reinforce wood against bending and twisting.
Procedure:
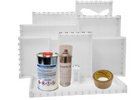
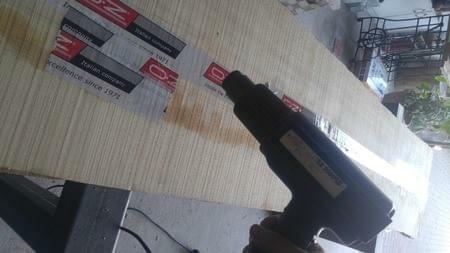
1. Cut several grooves side by side with a plunge or circular saw longitudinally from the underside of the plank (inside the bend), we cut 5 of them. Cutting depth 50 mm – 2/3 to ¾ thickness is ideal. In our case, only the grooves in the middle were enough. When bending into a regular arc, it would be necessary to cut the slat across its entire width, in our case it was not necessary. It is also important to look at the other (view) side of the plank and look for cracks through which the epoxy could eventually flow. Such potential places need to be covered with a strong and well-adhering adhesive tape. A good tip is to run the tape over the surface with a heat gun to improve its adhesion. If the epoxy should flow through a crack in the wood, the tape will catch it.
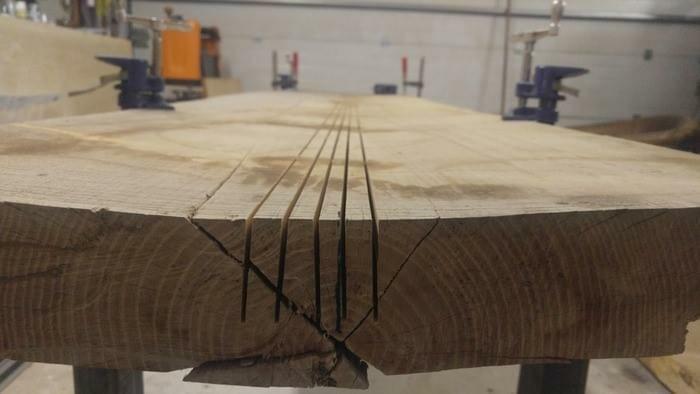
2. Opening and flattening of a plank. We used steel legs 120 x 100 mm, to which the planks were pulled so that they opened. To release the tension, the joints are opened a little using a wedge (e.g. an ax and a hammer) so that it cracks. Blow out dirt from the joints with a compressor.
3. Securing the mold – we didn't do this until trial number 2. (In trial number 1, we used fast high-strength resin with normal viscosity, and in several places there was a microcrack in the wood through the thickness, so the resin flowed through. The tape captured the resin, gradually due to hydrostatic pressure, began to form relatively large pockets. Fortunately, we noticed this and with the help of old textile blankets, wooden boards and carpenter's clamps, we stopped its flow. Therefore, it is better to straighten the slats on a flat, firm table, the plate of which acts against any hydrostatic pressure in the event of any flow and prevents the formation of pockets. At the same time, this experiment indicated to us that a very fast and very viscous resin would be better for this purpose). We therefore used the high-viscosity and fast Veropal FixWood resin in trial 2. However, even before that, we also secured the plank on the other side with adhesive tape and poured a small amount of Veropal PEN penetration into the grooves, which flows well and hardens quickly, and thus we closed the bottom of the grooves and prevented the possible flow of additional resin. Especially in the place of open cavities. Maybe it's unnecessary with FixWood, but certainty is certainty.
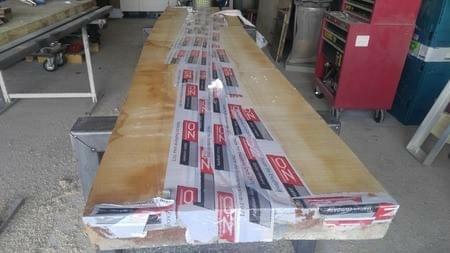
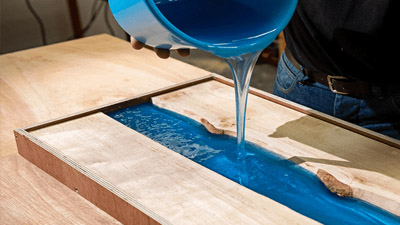
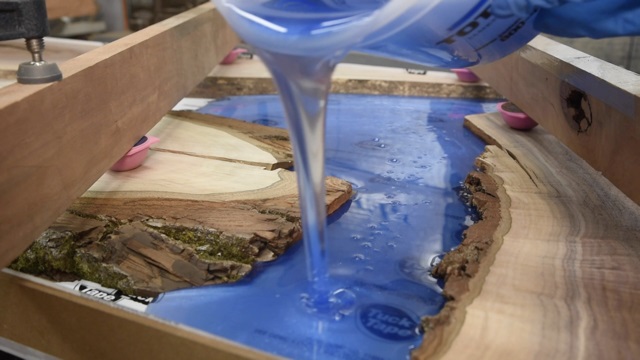
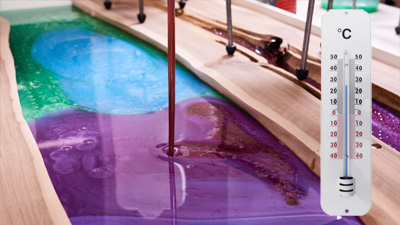
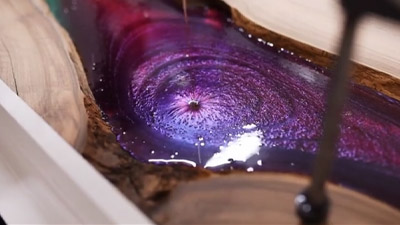
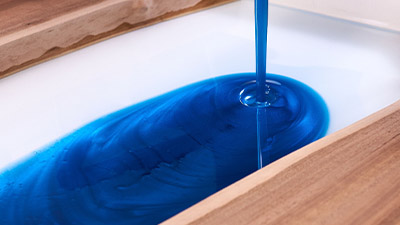
4. Casting with FixWood. Veropal FixWood must be weighed in a ratio of 100:50 to a maximum volume of around 0.5 L, mixed for about 2 minutes and immediately poured into the grooves. Do not wait too long so that the resin does not come to an exothermic reaction in the mixing container. Pull the overflows around the grooves with a spatula or a plastic trowel into the grooves. After pouring the entire volume of 0.5 L, weigh and mix the next batch and repeat the process until the grooves are filled. It is necessary to pay attention to the exothermic reaction in the place of larger cavities – as happened to us in the place where several slats fell out and this created one large cavity. Fortunately, this side is not visible and does not affect the strength, as the cast cavities are stressed under pressure. Cracked joints, if any, can be covered with a classic thin resin, which will be used to cover wood defects from the visible side of the veneer. It took approximately 3 hours for the resin in the grooves to cure. The subsequent loosening of the clamps and milling and alignment of the face should be done after 24 hours.
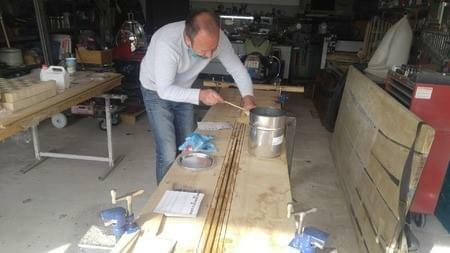
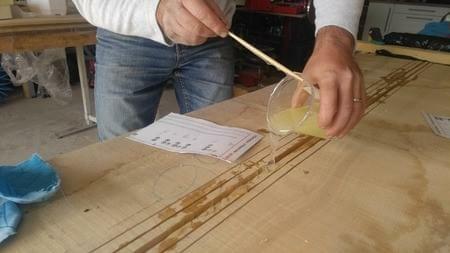
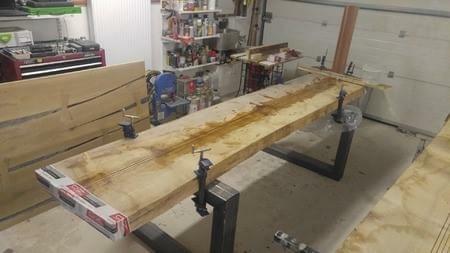
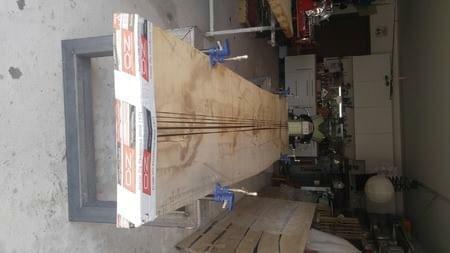
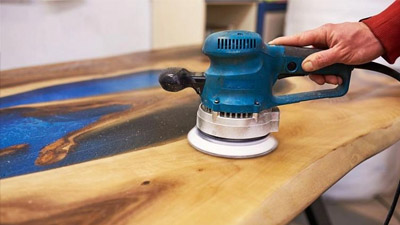
5. Flattening of the underside of the plank, which is not visible, so as part of the minimization of losses, it was not necessary to mill to zero the place where a little resin was missing (here, the middle joint). Here, of course, it is possible to top up to zero, which will probably only be done at the same time as the transverse fixing during the production of the table.
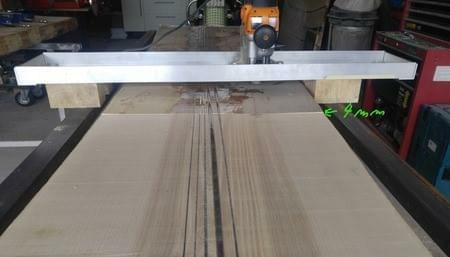
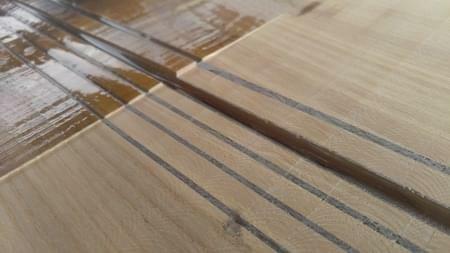
6. Tímto postupem se podařilo dřevo srovnat. Srovnáváním "žehlením" z obou stran se ubralo z každé strany 4mm dřeva, takže výsledné fixované fošny mají 72mm tloušťky. Jistě k tomu přispělo to, že fošny byly prohnuté jen v příčném řezu a víceméně jen uprostřed - do Véčka. Nebylo tudíž nutné dělat příčné a diagonální řezy. Nicméně kdyby se tyto fošny rovnaly ve srovnávačce, úběr by byl cca 5cm oproti těmto 8mm. Podařilo se zachránit tedy velmi podstatnou část dřeva, ze kterého zcela jistě bude hodnotný stůl.
Na závěr ještě jedno velké poděkování Lexovi z Lexani Racing za perfektní spolupráci, komunikaci a přístup k celé této akci.
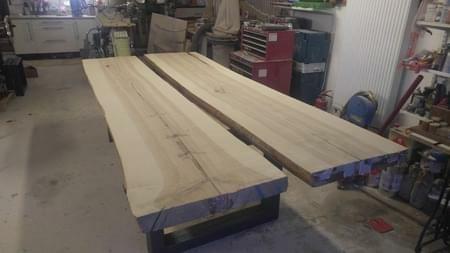
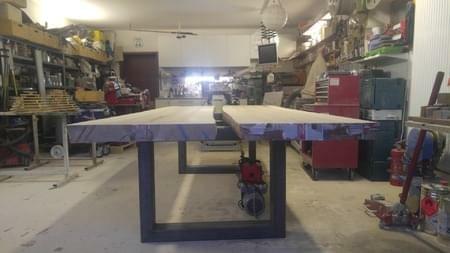
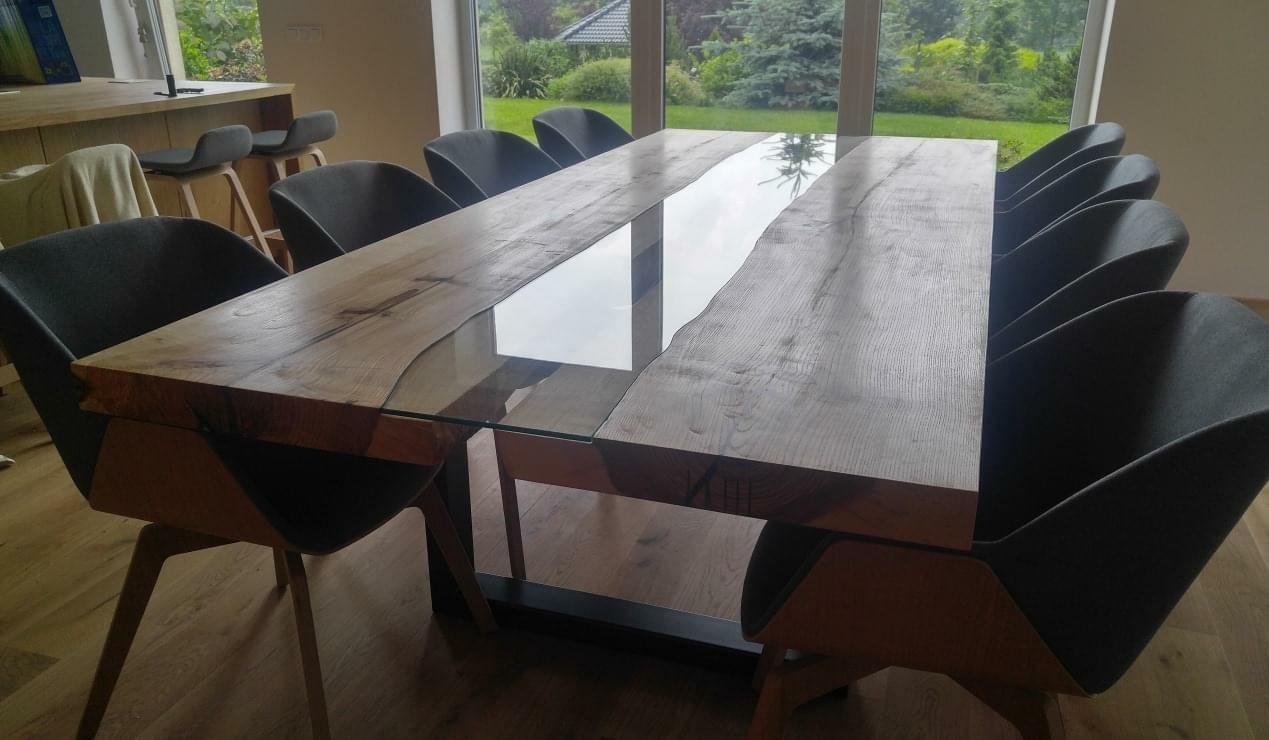
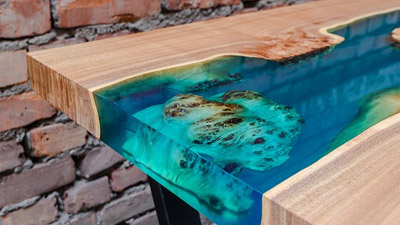
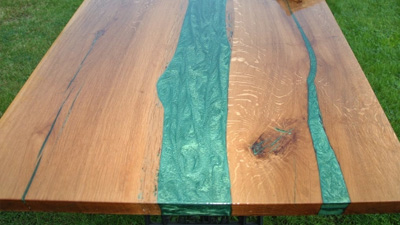
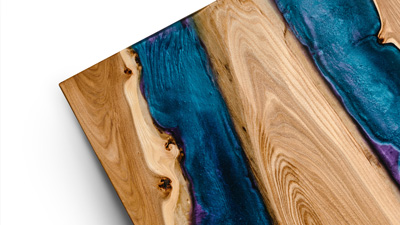
AND FINALLY, THE FINISHED TABLE THAT LEXA LEXANI MADE FROM THE STRAIGHTENED PLANKS.
